Even if you always just launch straight into apps on the Mac, you're using the Finder, but this core macOS feature is replete with useful features that get missed — or often not understood.
Apple has been building up the Finder since 1984 and the original Mac, so it's not a surprise that it has very many features. Since this is one area where Apple rarely removes anything, it's also perhaps not surprising that there are times when there are so many options that it's confusing.
This is also a particular area where the most long-time Mac users can even be at a slight disadvantage. That's because Apple has made changes where everything looks the same, yet under the hood it's sufficiently different that established users need to re-learn how to use the Finder to its full extent.
What exactly is the Finder?
The Finder is a macOS app that runs all the time, from the moment you start the Mac to the moment you shut it down. It presents the Desktop to you, and the Dock, and the menubars, plus it provides Finder windows.
A Finder window is a view into where your documents are on your Mac, and it's the means by which you can open or manage them. It lets you search for files, name and rename them, it lets you view them as lists or icons, and it has many ways to speed up your getting to use files and documents you need.
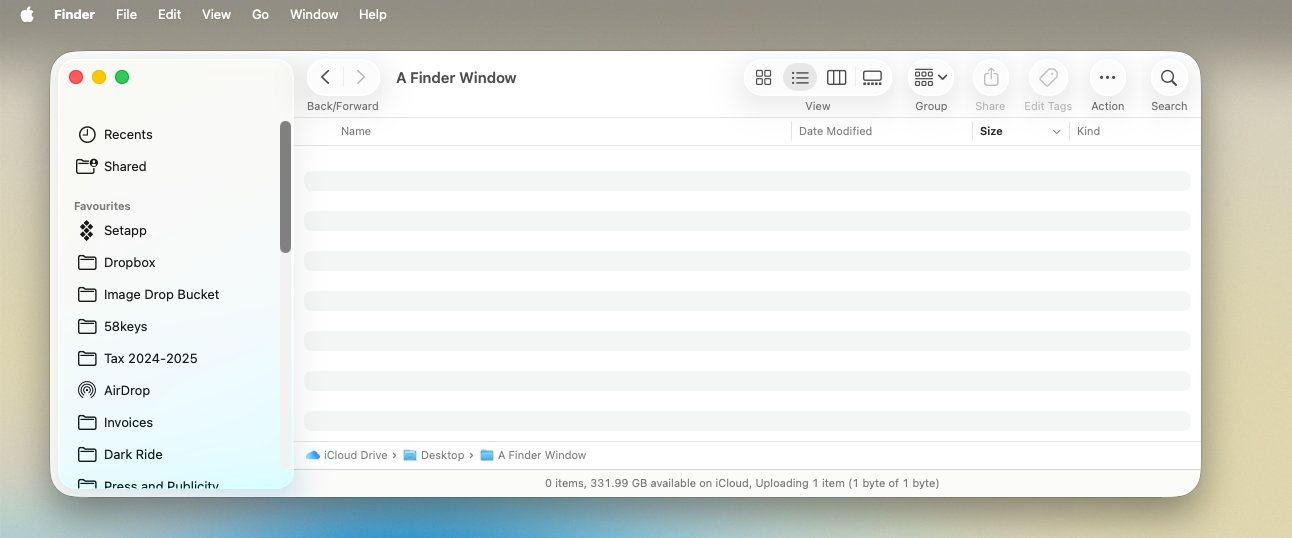 An empty Finder window
It's also how you can use multiple desktops or Spaces or organize what you're working on. Then it's the way that the Mac lets you litter your desktop with documents — and also tidy them up again.
But the chief focus of the Finder is the Finder window, with its huge range of options, including ones that are for power users, and at least one that confuses new users.
Inside the Finder window
To open a Finder window when there isn't already one on the screen, you first enter the Finder.
- If you're in an app, click on the desktop, or
- Press Command-Tab and then repeat pressing Tab until you select the Finder icon
- Once the menu at top left of the screen says Finder, press Command-N, or
- Choose the File menu and New Finder Window
- Or click on the Finder icon in the Dock
You can repeat any of the above except clicking the Finder icon to make more windows. Plus if you press Command-T, you open another window — but in a tab next to the current one.
Whichever way you open a Finder window, though, they initially all have the same format.
It's possible to change what a Finder window shows you, but by default you always get:
- Traffic light controls at top left
- Forward and Back arrows along the top
- The name of the current folder
- View controls
- Group controls for sorting documents
- Action controls for working on files, for instance renaming them
- Search (shown as a magnifying glass icon)
- A list of locations, external drives and more down the left side
The traffic light icons have always clearly represented certain actions. Click on the red one and you close the window, for instance.
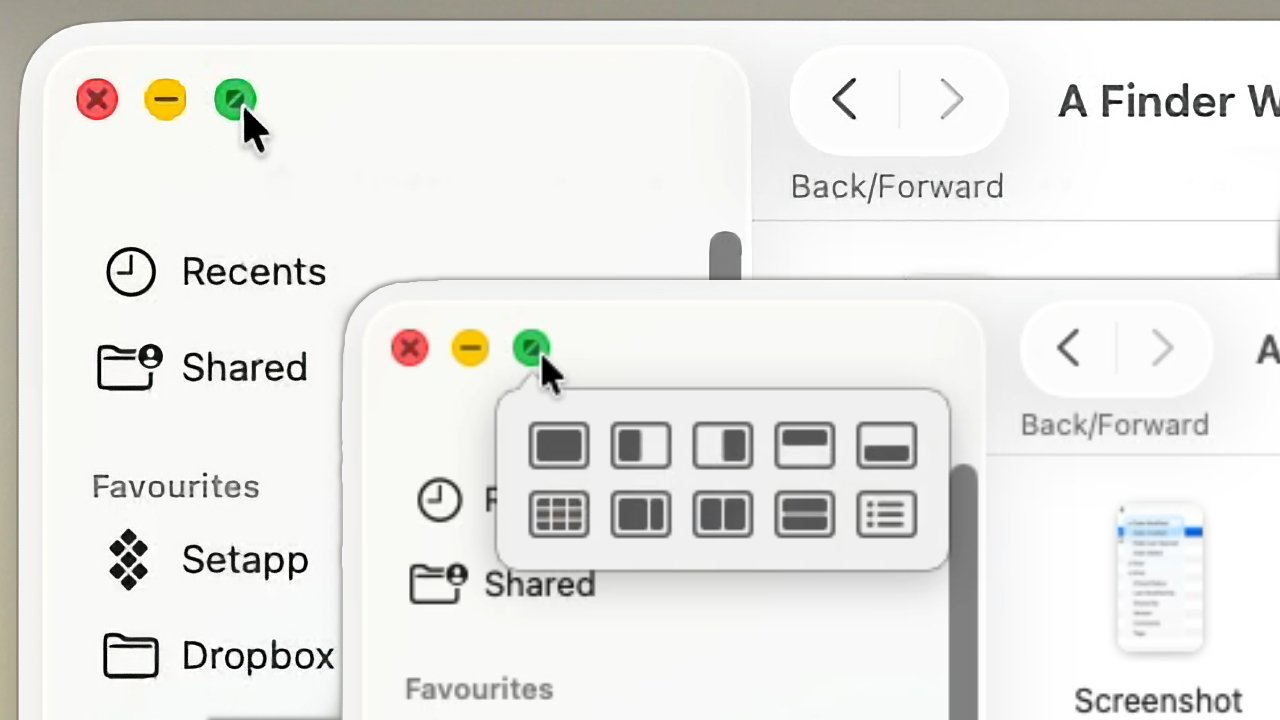 Top left: clicking the green traffic light to go full screen. Bottom right: more controls are available
Click on yellow and you don't close it exactly, you just squish it out of the way into your dock. You get it back by clicking on the Finder icon in that dock.
And green means go, or actually go big — it expands the current window to full screen.
With variations, that's been it on the Mac until 2024's macOS Sequoia. That added many more window tiling options, such as having the window take up half the screen, which are available when you click and hold on the green traffic light.
Beyond the traffic lights, there's still a lot of options in a small space, but in practice some of them are duplicated in handier places. For instance, all of the Action options — rename, duplicate and so on — are also available in a pop-up menu whenever you select a file and right-click.
Then there's the issue that most of them are controls you will probably only rarely want.
For instance, the view controls let you set whether the window displays your documents in a list, as icons, or as a gallery where one icon is shown enlarged over a row of other icons from the same window or folder.
There is also, too, a column view available here. With that, documents are shown in a list, but you can drill down through folders and they are each shown in a separate column. So you can more easily drag files from one place to another.
The thing with all of these is that you'll probably have a favorite and never think to change it.
Confusing hierarchy
Between the list of drives and locations on the left, though, and the name of the current folder at the top of the window, Apple has managed to confuse both new and long-time users.
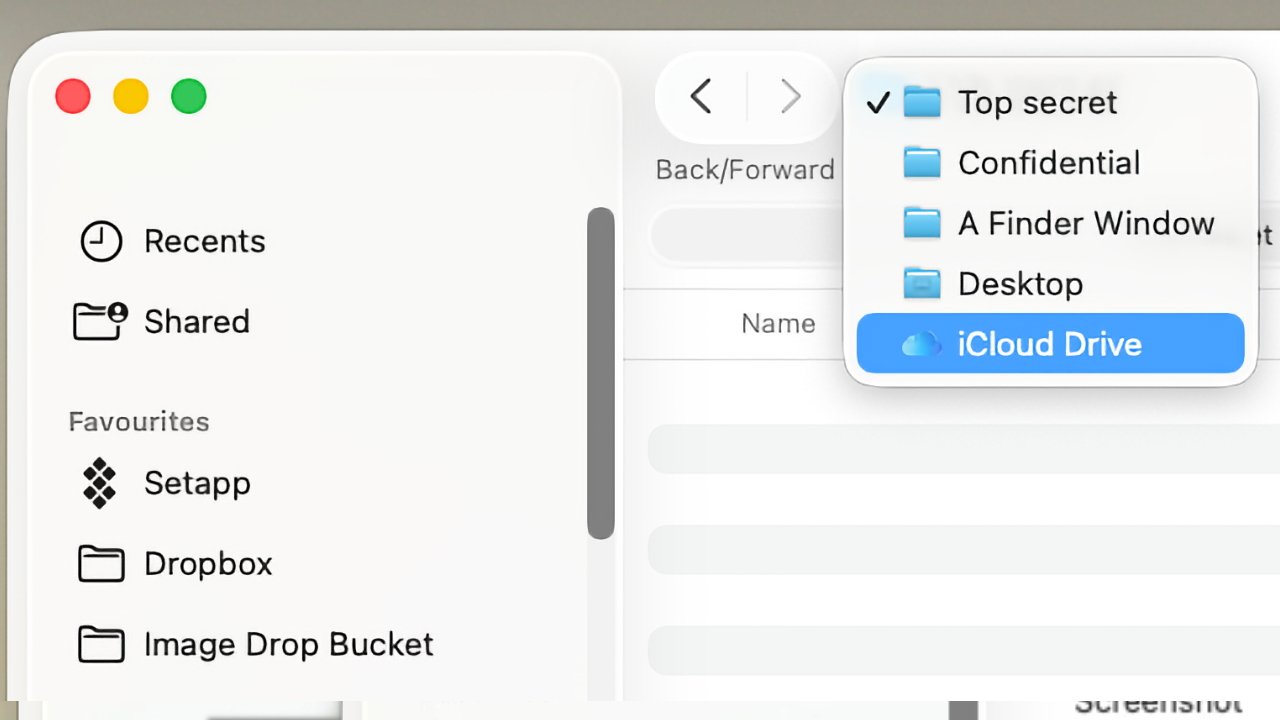
For new people, it's the list that can prove to be a problem. Down the left of every Finder window, you can see sections for:
- Recents
- Shared
- Favorites
- Locations
- Tags
But while those headings are there, what you notice is a list of folders such as Applications, Downloads and Documents, or the Desktop. These are just very convenient one-click jumps to those places, but they can be mistaken for actually being those places.
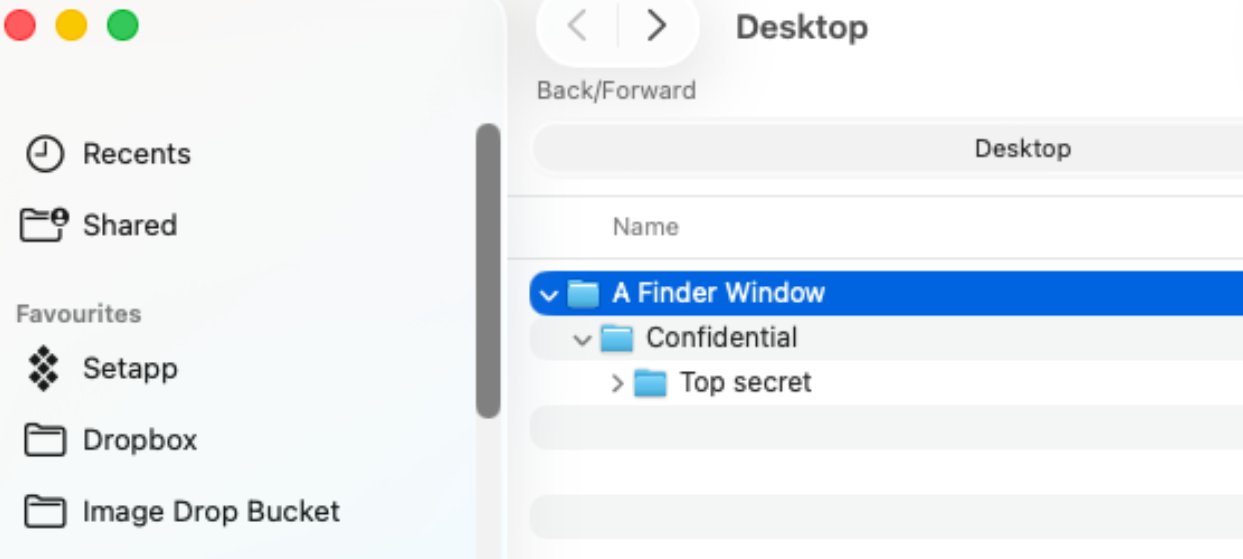 A hierarchy of folders
So ����Vlog has seen new users panic if they accidentally drag one out of the list and it disappears. Or if they click on the disclosure triangle icon that opens and closes the list — but is handily completely invisible until your cursor is over it.
It's worth finding that disclosure triangle if only to hide Tags. Apple presumably expects people to create just a few tags — like labels, such as "urgent" — because every one of them gets shown in this sidebar and it becomes so long a list as to be useless.
But with the far more useful Favorites, we've seen people try to drag, say, their Documents folder from that list to an external drive. All that does is remove it from the list, but sometimes they've believed they've just backed up their work.
This list is great when you know what it really does, but you can choose to hide it forever. In the Finder, choose the View menu and select Hide Sidebar.
That's a good menu option to know because if you install new software, it often opens up your Applications folder — without this sidebar. In that case, you can go to the View menu and select Show Sidebar.
Or just close the window.
Also convenient is how every window shows the name of the folder whose contents it is displaying. This name is up at top left, just the Back and Forward arrows.
Only, Apple doesn't tell you that you can right click on that name. If you do, a pop up menu appears listing that folder, and the folder it might be in, and the folder that might be in, and so on.
 Definitely a hidden feature — you can click on the name of an icon to see all of its enclosing folders
So if you have drilled down, opening folder after folder, and now just want to quickly get back to the first one, you can use this list. It's perhaps particularly useful if what you've done is exploit the Finder's spring-loaded folders.
This is the quite little-known feature where if you drag a file to a folder and wait for a moment without letting go of your mouse or trackpad, that folder opens. And you can keep on dragging over another folder in there, which then opens too.
It's all about folders within folders and you get so used to it because it's what you use all the time, yet occasionally you need to think about it more because of the other potential area of confusion.
Where files are on your Mac
A long time ago now, it was that you had the desktop and on it there was a folder representing your hard drive. But at some point Apple decided that all Macs must be multi-user ones.
Even if you never let anyone else touch your Mac, you could, and so the Mac can include a whole other set of folders for that person to have their own profile with their own Desktop, Documents, and so on.
So the hierarchy actually became your Mac and its internal drive at the top, then a Users folder inside those. Then there's your own folder, plus separately one for each of any other people who use the Mac.
Within your user folder, it used to be that you had other folders including one called Desktop. So when you are sitting at your Mac and the desktop is front of you, anything you save or drag to there, you're really dragging to a folder within your user folder.
Then Apple went and added iCloud. So now your Desktop folder can be in your iCloud folder.
Wherever it is, though, Desktop will also be in the sidebar of every Finder window.
So that's the sidebar on the left, the controls across the top, and whether the contents are shown as icons or a list. There is still a lot more to know and exploit about the Finder.
Columns, sorting, sizes, and paths
By default, the list view in a Mac Finder window shows you the name of each document in there, plus some other details. This is so customizable that the second you've customized it, you forget what it originally looks like.
You've got to keep the name of the document visible, but other than that you can choose to show or hide:
- Date modified
- Date created
- Date Last Opened
- Date Added
- Size
- Kind (such as document or image)
- iCloud Status
- Last Modified By
- Shared By
- Version
- Comments
- Tags
So you can see just about any detail of any document, except what's actually inside it. The Finder has you covered even for that, though, as you can select a document and press the Space Bar to get a Quick Look at its contents.
The thing of all these options, though, is that they are presented in columns that you can adjust. Not only do you decide which to show, but you can drag them into any order — and you can make each one wider or narrower as you need.
And you can sort by them.
Click on Date Modified, for instance, and every document in that window will immediately be sorted by that date. Click again, and they are all re-sorted by that date — in reverse chronological order.
You can click on Size to see what's taking up so much of your storage space, too.
Or just click on Kind, so that all your Word documents are together, and all of your PNG files. It's immensely useful for very rapidly finding what you need in a folder that could have thousands of documents in it.
Sometimes, though, it's the folder itself you want to find, rather than what's in it. Perhaps you want to drag that whole folder over to a backup, or maybe you want to right-click and choose Compress to make a zip archive.
You can right-click on the folder name at top left and choose the enclosing folder from the list. Or you can choose the View menu and select Show Path Bar.
 You can do quite elaborate document searches right from the Finder window
With that selected, the very bottom of your Finder window shows a horizontal hierarchy folders. It will typically abbreviate the names so that it can show every folder within a folder, but you can click on any of them to go straight to that.
Finding files
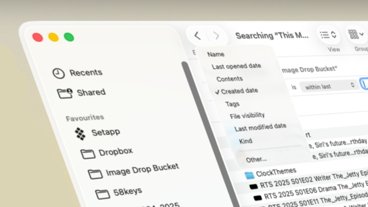
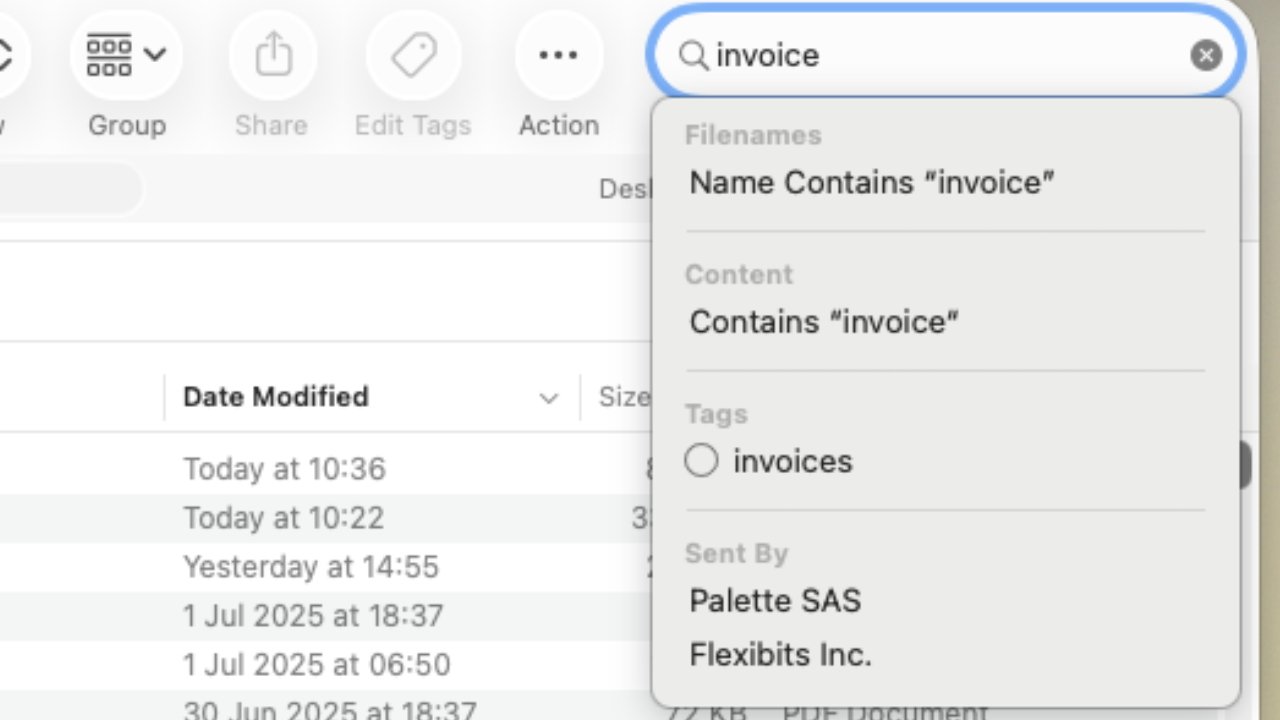
Sometimes, though, you need to find a document and you don't even know which folder it's inside. Open any Finder window, click on the magnifying glass at top right, and start typing a search term.
Once you've entered a few letters and, importantly, pressed the space bar, the Finder offers you options such as searching for files with that in the name. Or files with those letters in their contents.
There will also an option the bar just below all the window controls, that sets where you search. The default is to search the current folder, but you can click on This Mac to broaden it.
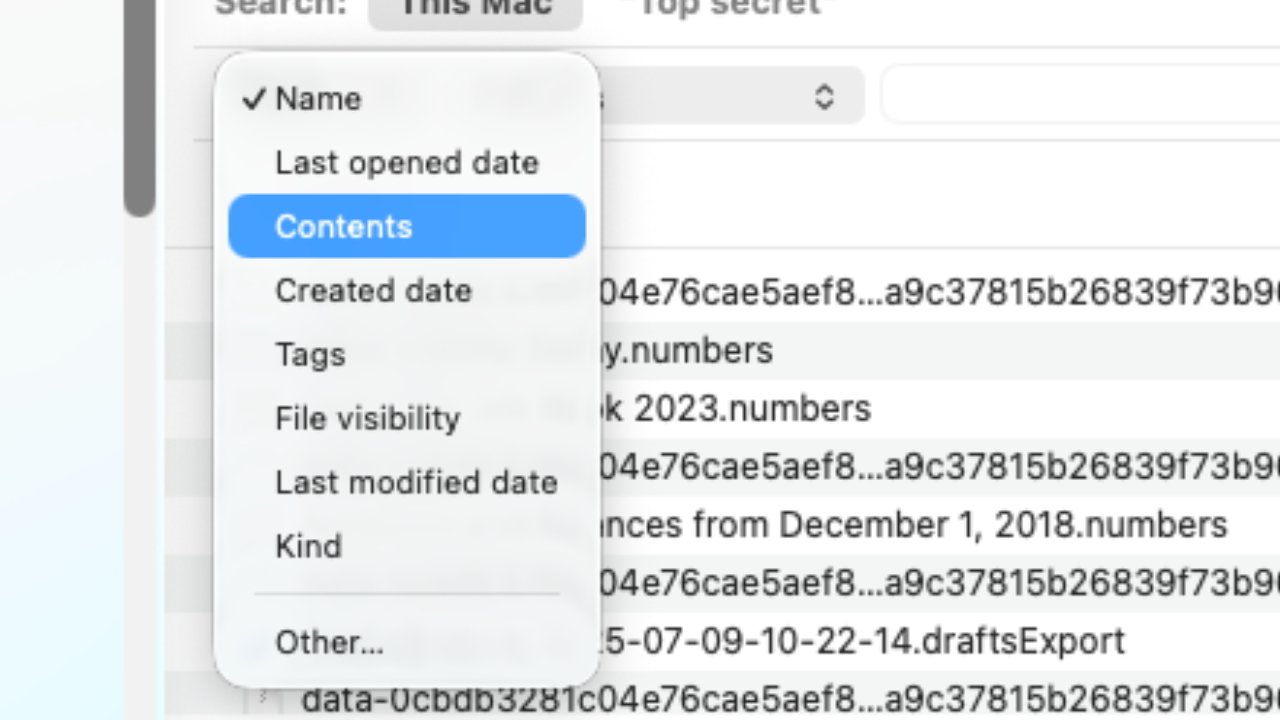 Search results can then be filtered
Once you have searched for something and the Finder has returned a list of results, the window will have grown still two more controls. It will have a Save button toward the top right, and a plus sign next to that.
If you're doing a search you know you'll repeat often, click Save.
But it's the plus sign that is the most useful. Click on that and you are adding search terms to your original one.
So as well as, say, the name of the document, you can here specify that it's got to be a file you created this month but not in the last ten days. You can say it needs to be an audio file or a folder.
And if you choose Kind, you can get even more precise. Instead of just audio, movie, document, and so on, you can specify that you're looking for an Excel document.
All this and you just open apps
It's fully possible to start your Mac, find an app in your Dock, launch that and stay in it until your working day is done. Or bouncing between many apps, whatever you need.
But it's the Finder that does the launching and it's the Finder that means you can switch between running apps.
And for a Mac feature that you may never pay much attention to, the Finder is awash with features that can help you and your work enormously.
Once you know they even exist.